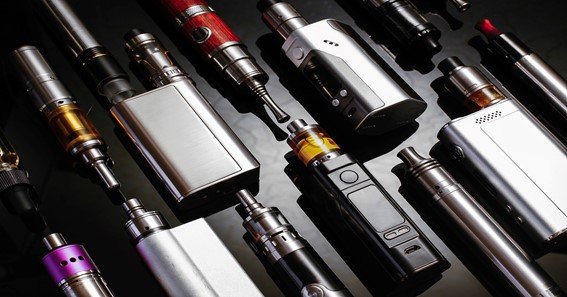
The technology used to create modern vaporizers is becoming more sophisticated. Continuous scientific experimentation has led to innovatively designed devices aimed to surpass the previous generation’s models.
The uniquely created Dr. Dabber Switch is one such unit. It’s made up of several components and specifications that need to be operated correctly to sustain usability. Therefore, you must keep your dabber switch in optimal condition to preserve your device for as long as possible and for your own health.
That said, here are four tips you can use to maintain your Dr. Dabber Switch:
click here – Caring for a bouquet of flowers: all the tips
- Charge Your Switch Properly
Like all electronic devices, you need to charge your dabber switch unit to maintain power and functionality. Fortunately, it has a pass-through charging setting, so you can recharge it while you’re still using it in a dabbing session. It takes about one hour for the unit to reach a full charge, and this could extend to half an hour extra if the battery is at 10% or less. You can find the battery status as indicated by the LED lighting.
Flashing pink lights indicate low battery life, so you’ll need to charge it quickly before it powers down. Once you’ve plugged it in and see red lights, it would mean that the unit is charging. When fully charged, the light will turn green. Remember to use only the compatible charging cable and adapter that came with your switch bundle for recharging. Using any other accessories such as USB cables and phone chargers could result in damage which may require getting a new battery pack.
- Clean Them Regularly
What makes the Switch easy and convenient to maintain is its self-cleaning cycle. The system uses a high-energy heat cycle to clean the ceramic induction cups to burn away any leftover residue after a session. You can use this feature by pressing the power button indicated by a plus sign. When the heat increases to its maximum, the front LED lights will flash red. That’s how you’ll know that the self-cleaning mode is now active.
Once the cycle is complete, the heat setting will turn off, cool off the device, then flick a blue light. Keep in mind that this self-cleaning cycle only cleans the ceramic induction cups. So, if you want a more thorough cleaning of the entire unit, you’ll need to take it apart and clean each separate component. It would be best to use a cotton swab dipped in isopropyl alcohol to clean its glass top, percolator, induction cups, and filter. You can then reassemble your unit again once all the parts have dried.
- Replace Parts When Necessary
Over time, you may notice that parts of your unit become worn out. It’s normal for a dab that uses induction heating to vaporize oils and flowers. Luckily you won’t have to get a new unit if it’s still functioning as the Dr. Dabber store has replacement parts. Some of the sections that will need changing sooner or later are the induction cups that are either ceramic or crystal, carb caps, glass attachments, and the ceramic filter. Be sure to get the parts created for the Switch model.
Moreover, when you change these items, ensure to remove and attach the new parts as instructed in the Switch manual. Only discard and swap out the induction cups with the reverse action tweezers and wait until they’re completely cool before handling them.
You can find the battery pack underneath the base plate. Turn the plate around until it detaches, and then remove the battery pack. From here, you can align and insert your new battery. When you press the power button, the green LED light will flash to signal that it’s working.
click here – THE DEFINITIVE GUIDE TO RTLS (REAL-TIME LOCATION TRACKING)
- Use Your Unit With Care
There are a few guidelines you can follow to prolong the lifespan of your Switch unit and for overall maintenance, which are:
- Don’t operate your device while it’s in self-cleaning mode as this could overheat and damage the internal electronic system.
- While the Switch allows for pass-through charging, it would be best if you charge your unit after a dabbing session.
- Don’t use the self-cleaning system for the crystal induction cups, only the ceramic-based cups.
- Don’t place any unrelated metallic objects on the glass top; only use ceramic or glass-based tools.
- Refer to the user manual before using your device for the first time.
- Troubleshoot and reset the device if you notice signs of breakdowns or malfunctions.
In addition to maintenance, these habits can further optimize your battery for long-lasting performance. They can also keep you safe and safeguard your unit from avoidable damage and thus, keep your warranty valid.
Conclusion:
You can upkeep your Dr. Dabber Switch device by following the maintenance tips above. Ensure to regularly clean the removable sections made of glass and ceramics after each dabbing session. It’s also a good idea to fully charge it before using it to avoid damaging the battery.
You may also change individual parts of your unit when they need replacing. This, combined with the general rules to observe as per the instruction manual, are the best ways to make the most of your product and keep it in good condition for a long time.

